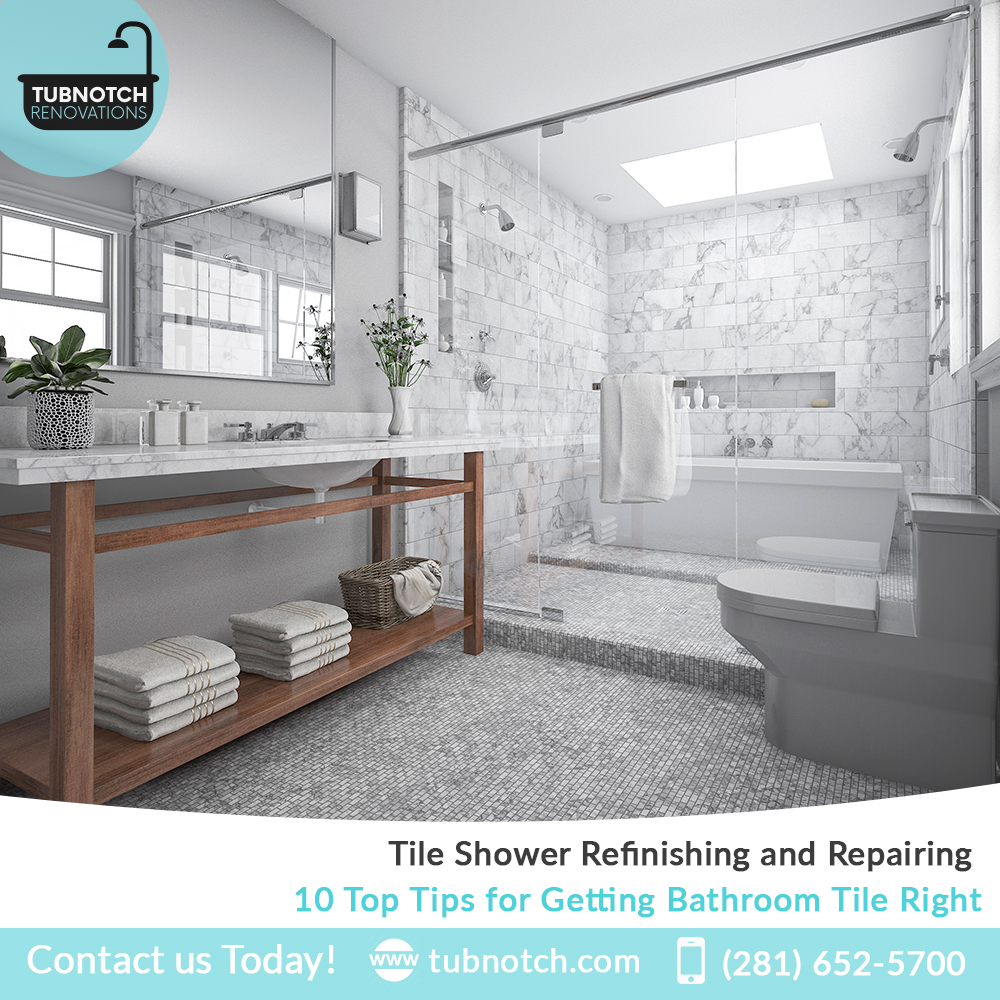
Tile Shower Refinishing and Repairing
10 Top Tips for Getting Bathroom Tile Right
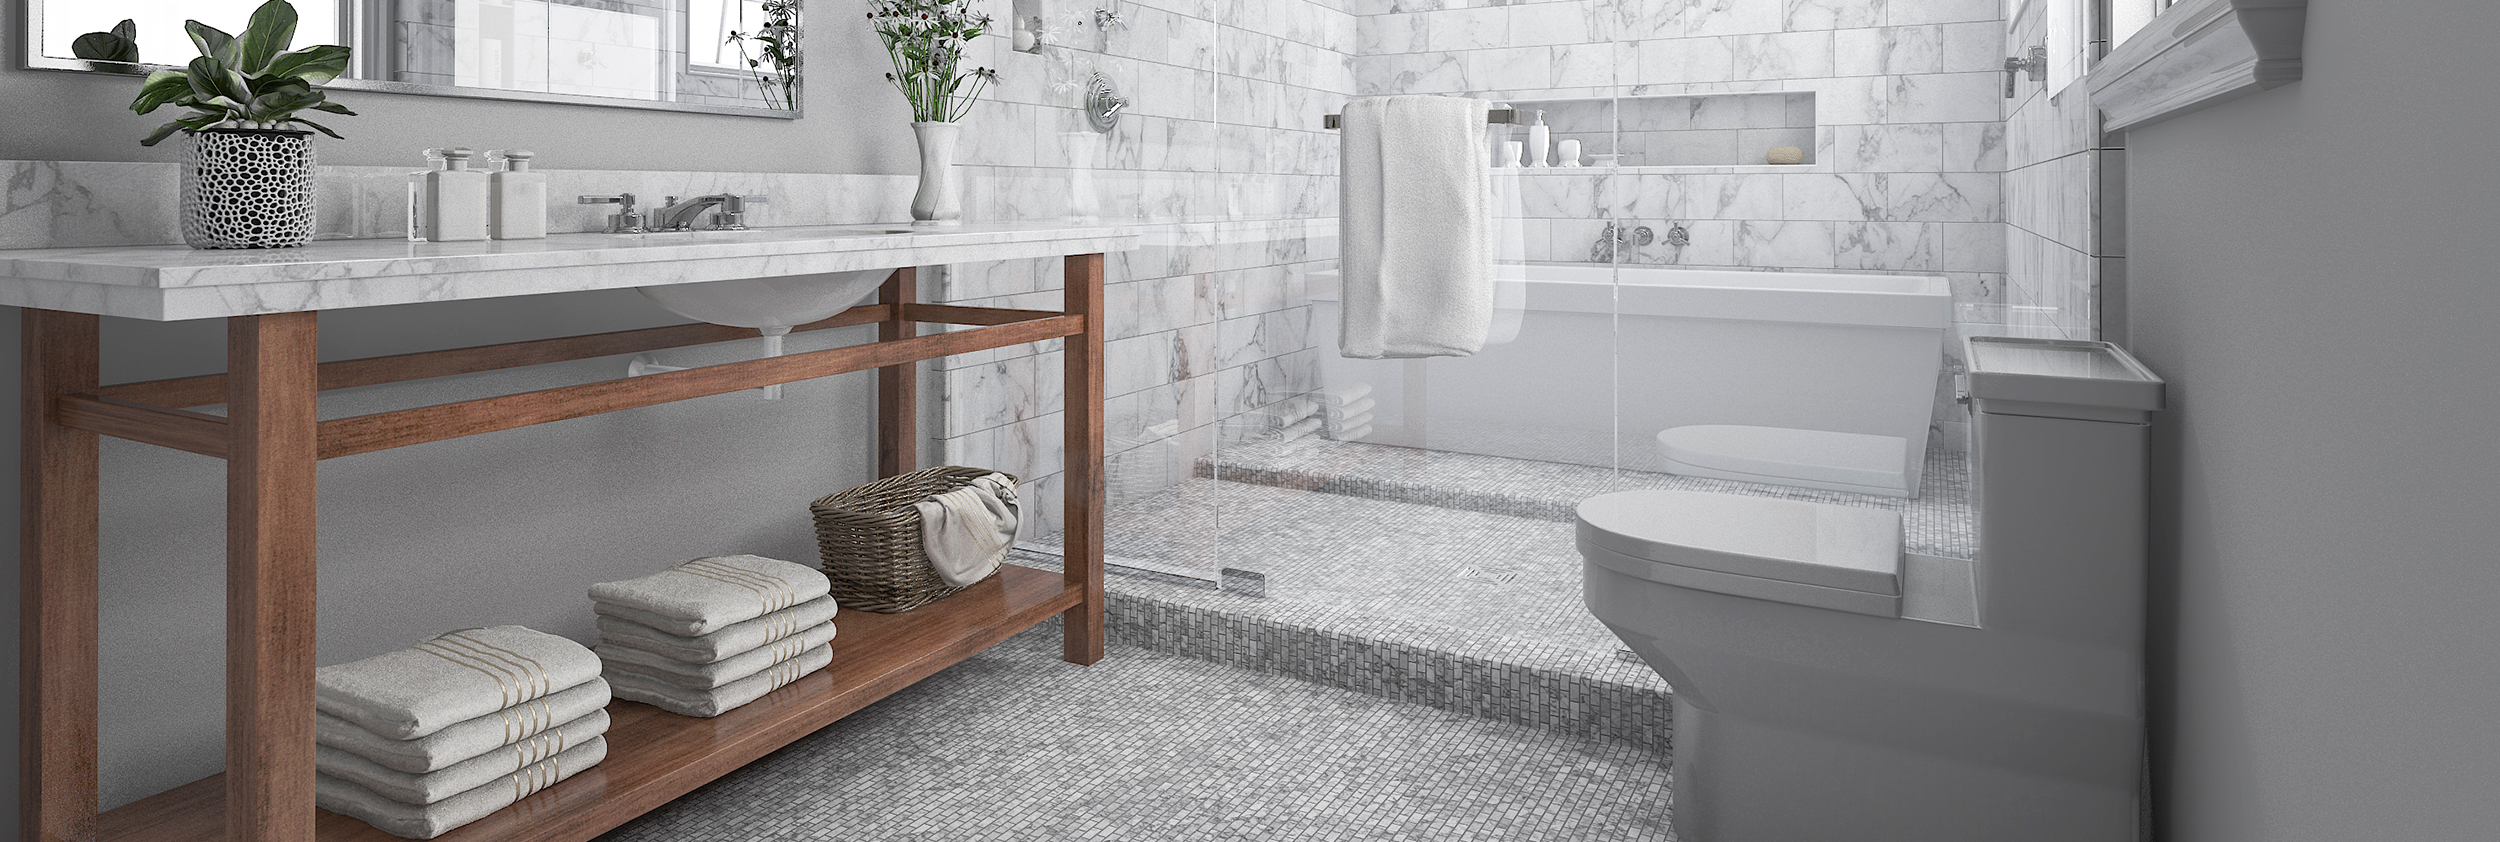
Good planning is essential for bathroom tile that's set properly and works with the rest of your renovation. These tips help you do it right.
- Plan it all out. In home, I wanted three shower niches (one for each of my girls) and one large niche for shampoo bottles. Mark the wall studs with spray paint or mark all sides with a permanent marker, informing all tradespeople that the space is reserved for the tiler.
- Double-check tile sizes. The single biggest mistake I see people make in tile layout is assuming a 12-inch by 24-inch tile is in fact 12 inches by 24 inches. Most tile is sold in European sizing, and the tile size is 30 centimeters by 60 centimeters. This size could also have a grout joint factored in, so your tile could be closer to 11 3/8 inches. By purchasing a good sample of tiles you can lay them out, check your tiles for warping and soak-test them for quality control.
- Lay your tile from the ceiling down. Many shower niches end up with cut tiles, but it doesn't have to be that way. Lay out your tile pattern from the beginning so that the mitered pieces start exactly on a grout joint. I find that laying out the tile pattern from the finished ceiling heights makes it easier to get it right. We will often draw up the design on the wall board prior to waterproofing to make sure the layout is right before installing the tile.
- Be careful around doors and windows. Tile layout around doors and windows is critical. Every window or door has its own challenge, and the best way of waterproofing the assembly may be a challenge. Make sure your shower or bath's waterproofing system is designed with the windows in mind. This way you can prevent water from getting behind the tile and into the window framing. Having tilted sills and room for expansion will ensure the tile job holds up well for years to come.
- Get the drain right. Setting the drain requires a lot more than just dropping it in somewhere in the middle. Many drains have zero room for adjustment, and getting them perfect requires exact planning. This drain is made by Schluter Systems and offers up a little wiggle room in final position. Not all do, so plan this out before your plumber arrives.
- Guard against leaks. Grading the areas outside the shower back to the shower is a safeguard against leaks. The extra inlay tile detail around this barrier-free shower is tipped toward the shower like a traditional shower curb.
- Pay attention to pebbled floors. When designing showers with a river rock floor, remember that they are slower to drain. Increasing the pitch and using epoxy grouts can help with quicker dry-out times between showers.
- Cure between steps. Sealing tile and natural stone can enhance many tiles. A solid practice is to prepare a sample tile board and seal it before sealing an entire bathroom or shower — all of which should be done prior to installing the floor tile. Make sure you stay off these floors until they’re fully cured, and wait as long as possible before sealing the job. Don’t let your crew install the tile in two days, grout the third and then seal the following day. Each stage needs time to dry before proceeding.
- Detail makes a difference. Notice the detail in the corners of this photo, where the tile has been wrapped around the edge. Good design and attention to detail make these areas look polished.
- Design your niches bigger, not smaller. When framing in a shower niche, first decide on a finished measurement and then build the shower niche 1 to 2 inches larger. Most tile is 3/8 inches thick, and this allows for a little adjustment to align everything with the grout joints.
Source: Houzz
TubNotch Renovations offers not only utility/functionality but also elegance. Our unequivocal and affordable refinishing, repairing, resurfacing and replacement options that give you the new surfaces for your old bath tub/shower liner and kitchen/bathroom counter tops.
10 Top Tips for Getting Bathroom Tile Right
Bathtub refinishing and repairing in houston, Bathroom refinishing and repairing in houston, Tile Shower refinishing and repairing, Shower Pan refinishing and repairing, Bathroom Vanity refinishing and repairing, Porcelain tub refinishing and repairing, Fiberglass Bathtub refinishing and repairing, Acrylic Bathtub refinishing and repairing, Clawfoot Bathtub refinishing and repairing, Countertop refinishing and repairing, Laminate Countertops refinishing and repairing, Formica Countertops refinishing and repairing, Tile Countertops refinishing and repairing, Corian and Silestone refinishing and repairing, Bathroom Vanity refinishing and repairing, vanity top refinishing and repairing, ceramic sink refinishing and repairing, kitchen countertop refinishing and repairing, Granite countertop refinishing and repairing, Ceramic Tile refinishing and repairing, Tile Countertops refinishing and repairing, Tile Walls refinishing and repairing, Tile Shower refinishing and repairing, Shower Pan refinishing and repairing, Tile Floors refinishing and repairing, Tiled kitchen refinishing and repairing, Ceramic floors refinishing and repairing, Porcelain finish refinishing and repairing